Hosting public services on your home server using NGINX and Tailscale
Thu, Feb 3 2022 :: Arjun Komath
In a previous article, we discussed how to set up remote access to home-lab via private VPN with the help of Tailscale. Today we are going to extend that set-up to make some services available publicly such as a blog or a web server.
Here are the things we need to get this running:
-
your home lab server with Tailscale networking
-
a virtual machine by any cloud provider of your choice, like AWS, Google cloud or DigitalOcean.
-
a domain name (nice to have)
Step 1: Setup Tailscale on the cloud server
We start by connecting the cloud virtual machine to our private Tailscale network so that it can directly communicate to our home lab servers. You can find the instructions to install Tailscale here: https://tailscale.com/download
You can read more about Tailscale setup here.
Step 2: Install NGINX on the cloud server
We want to use NGINX to set up a web server that will accept requests coming to the virtual machine via a domain name and proxy that to a service in our home lab.
NGINX is open source software for web serving, reverse proxying, caching, load balancing, media streaming, and more. It started out as a web server designed for maximum performance and stability. In addition to its HTTP server capabilities, NGINX can also function as a proxy server for email (IMAP, POP3, and SMTP) and a reverse proxy and load balancer for HTTP, TCP, and UDP servers.
Now that we have understood the plan, let’s start by installing NGINX, you can find instructions here. On Ubuntu, its as simple as running:
sudo apt update sudo apt install nginx
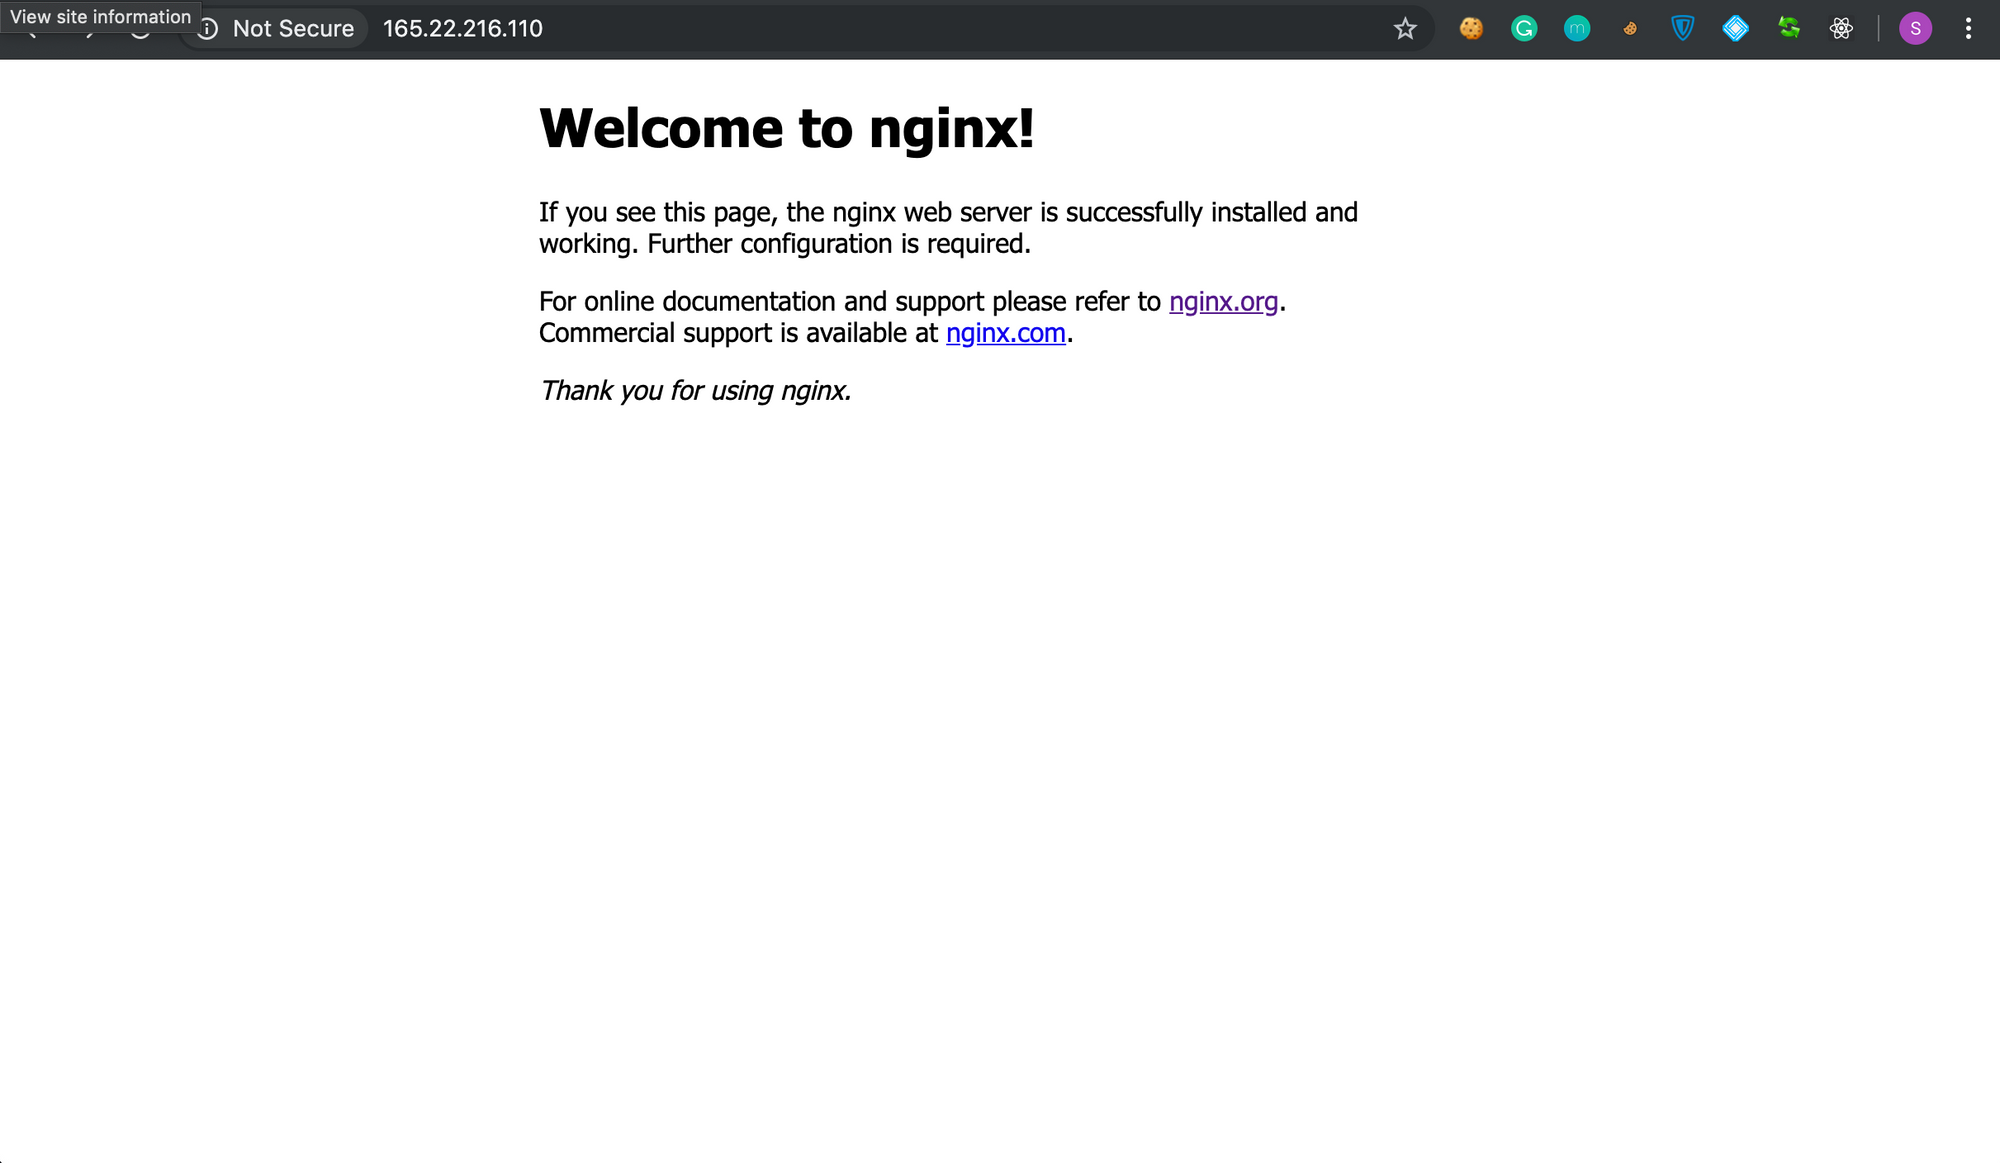
You can verify the installation by opening the public IP of the virtual machine in your browser, you should see NGINX default welcome page.
💡 If you have a domain name, make sure its DNS is configured properly to reach our NGINX server via an A record that points to the virtual machine’s public IP address. Here is a nice tutorial video I found on YouTube.
Step 3: Setup NGINX server block
Using NGINX, we can configure a proxy that will send all requests coming to our server (via the domain) to the service in our home lab using server blocks. Follow these steps to configure the server block:
-
cdinto NGINX’s sites enabled folder/etc/nginx/sites-enabled(the location might be different on your machine as it will depend on your installation) -
create a new file for the service, lets say
homelab -
Open the file and paste the following:
server { server_name yourdomainname.tld;

location / { proxy_pass http://service_ip:service_port; proxy_set_header X-Real-IP $remote_addr; proxy_set_header X-Forwarded-For $proxy_add_x_forwarded_for; proxy_set_header X-Forwarded-Proto https; proxy_set_header Host $http_host; proxy_intercept_errors on;

proxy_http_version 1.1; proxy_set_header Upgrade $http_upgrade; proxy_set_header Connection 'upgrade'; proxy_cache_bypass $http_upgrade; } }
We’re configuring NGINX to proxy all requests that match hostname yourdomainname.tld to http://service_ip:service_port
⚠️ Replace yourdomainname.tld with your actual domain name and also replace http://service_ip:service_port with the actual ip address and port of the service inside your home lab server. Make sure you use the IP address provided via Tailscale and not the LAN IP.
Once you’ve saved the file you can test the new configuration using the configtest command and then restart the server to apply it.
root@techulus-server:~ sudo service nginx configtest * Testing nginx configuration [ OK ]
It is highly recommended that you use certbot to setup SSL and enable HTTPS, you can find the instructions for that here. Once that is done you should be able to access the service securely using https://youdomainname.tld
Step 4: Securing access (very important)
To make sure the access is secure we’ve to ensure that every component in the network has the least privilege, so we block all ports and whitelist only the ones required for the service to function. We can apply this at multiple layers of the network:
-
Only allow port 80 (HTTP), 443 (HTTPS) and 22 (SSH) for the virtual machine, you can also restrict access for port 22 to just your IP address.
-
Use Tailscale ACL to block all ports except the port in which the web service is running.
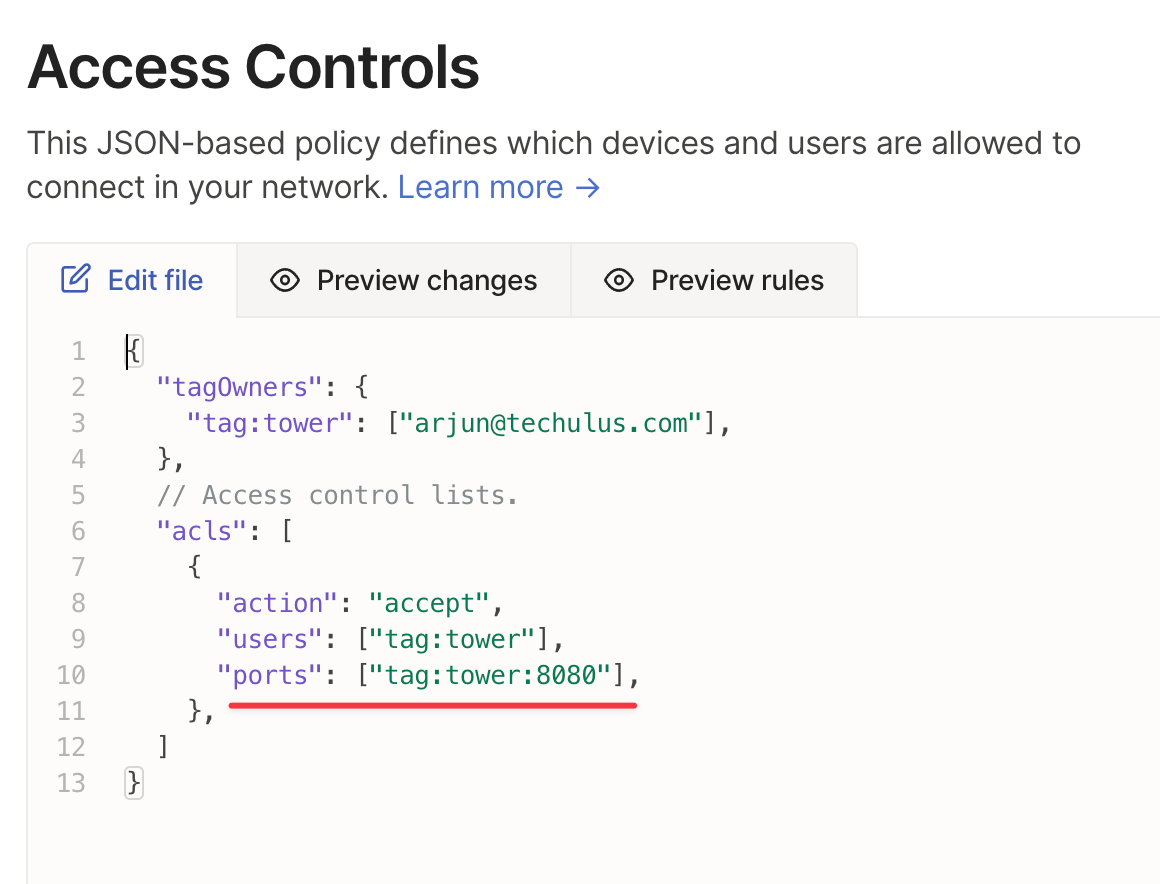
Tailscale ACL restricting communication between devices under tag:tower to just port 8080
💡 Have a look at UFW (uncomplicated firewall) that lets your easily configure your virtual machine firewall: https://www.digitalocean.com/community/tutorials/ufw-essentials-common-firewall-rules-and-commands
And that’s all, we’re done. The best part about this solution is that we don’t require a static IP or DDNS for setting up secure public access to our home lab. Feel free to comment or reach out if you have any questions or concerns, cheers!